
The Jack arch
This post touches on the method we use for constructing a jack arch or flat arch. An arch works on compression. They have been used for millennia as a means to span and support weight above an opening. The jack arch is tighter at the bottom and wider at the top. As long as the homeowner continues to pay their gravity bill, the arch will continue to support weight over a span. The voussoirs ( arch bricks) are tapered. If you follow the line of each course those lines will eventually meet at a point called the striking point. The striking point is established before the arch is built. This arch is new and was based off the specifications of existing arches in the building.
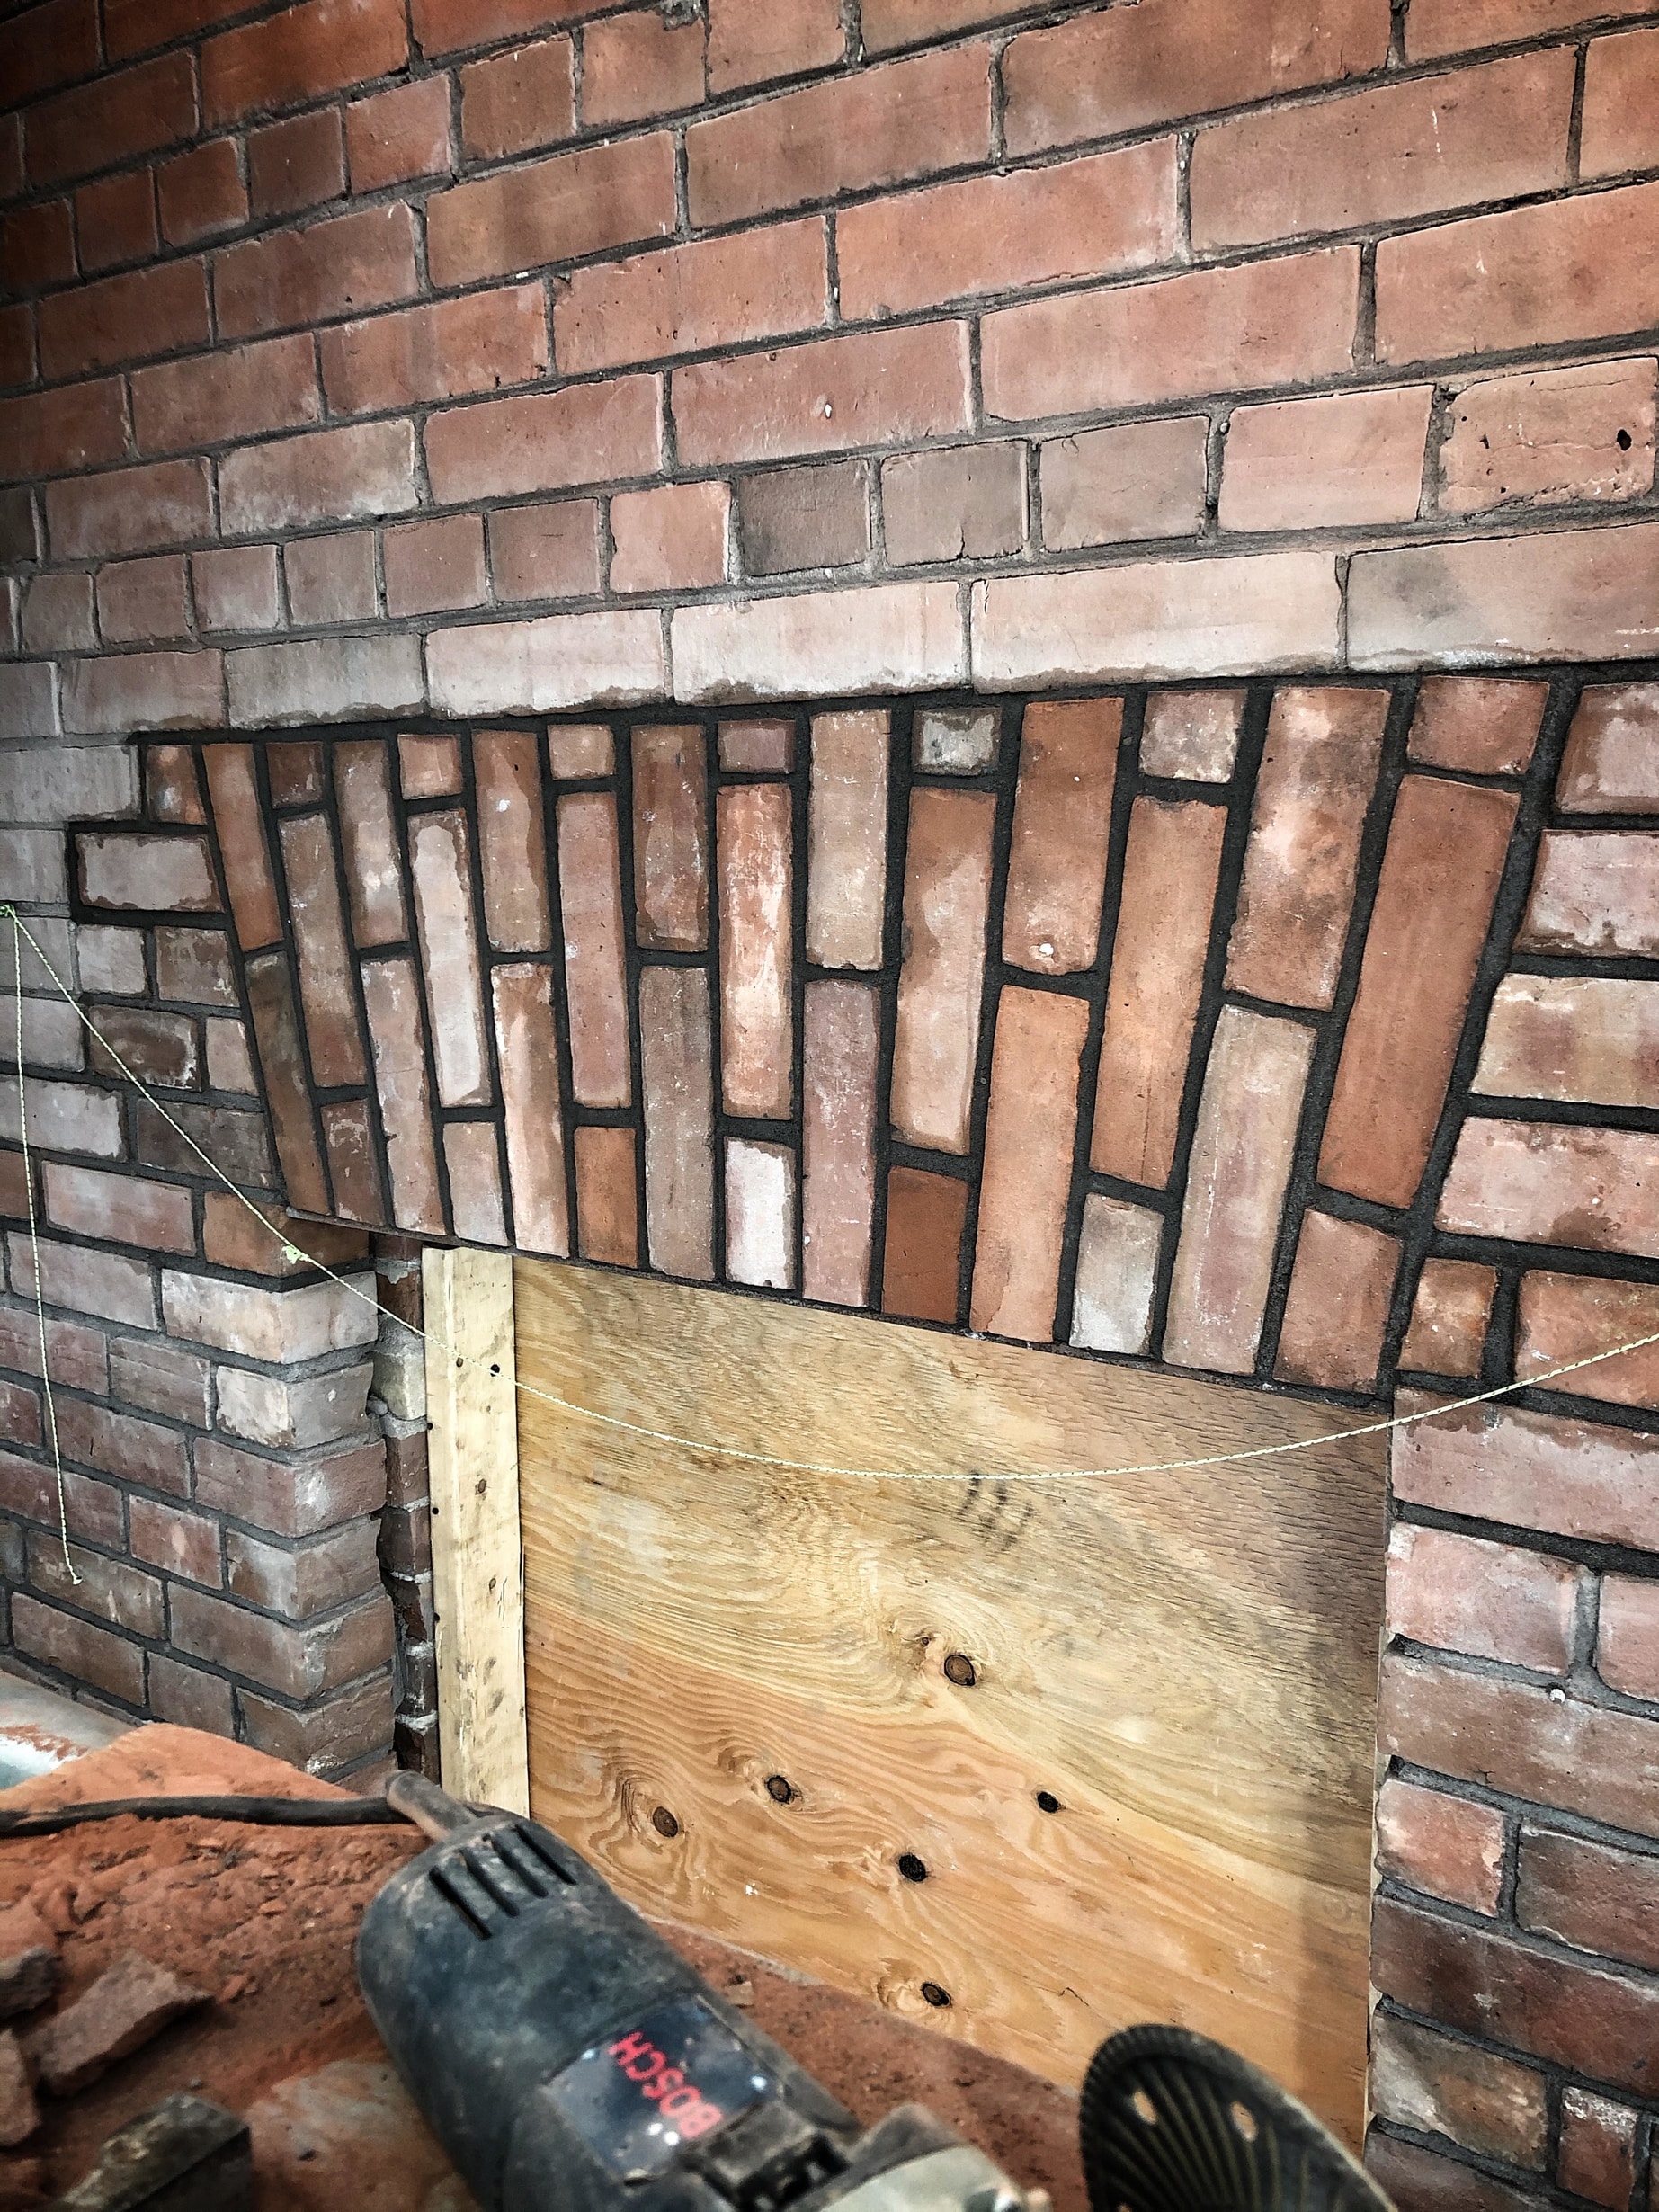
The Striking point
Once you’ve built up the window reveal to the course under the arch, you can then get the striking point. By measuring halfway between the reveals you can then drop a plumb line. This is easier done with two people. For this arch we had the striking point roughly 15ft below the arch. A nail or screw is driven into a mortar joint directly below the halfway point between the brick reveal. You can then tie a string to the nail. The string determines the angle of the skewbacks ( bricks either side of the arch) and the voussoirs. Each voussoir is laid to this line. Once the skewbacks have been cut and laid, a straight wooden form is put in place to support the arch during construction. As this was a new arch it has a steel lintel supporting it. Belt AND suspenders.
Arch Calculations
When determining how many voussoirs to put in your arch you first measure the width between the skewbacks at the uppermost corners. Let’s say it’s 42.5”. You then measure the width of a brick plus a typical joint. Let’s say it’s 3”. You then divide 42.5” by 3” to get 14.16. This is how many brick will fit in your arch. You have an extra joint to account for so now we know 14 bricks at 3” will work. The .16 from the 14.16 is roughly a half inch. To translate that to the bottom of the arch we first measure the width between the skewbacks at the bottom most corners of the arch. Let’s say it’s 34.5”. We then divide 34.5” by 14.16 to get 2.43”. So now we know that each course in the arch has to be tapered roughly a half inch from 3” at the top with joint, to 2.43” at the bottom with joint. We then mark every 2.43” along the form to give us our voussoir positions.
Cutting the arch bricks
Because we have an even number of bricks we start one end with a stretcher and one end with a header to prevent a running joint when we meet in the centre. When we start to build, we first use an angle finder to find the angle at which we cut the bottom of the brick. After that is cut we place the brick on the form a joints width away from the previous brick and pull the string to the 2.43” mark on the form. We pull the string taut up through that mark to the top of the brick. It should look like it’s tapering. We mark where the line hits the top and the bottom of the brick. We remove the brick and draw a line from each point marked and cut that line with a grinder. This is a visual process.
Laying the arch bricks
We lay our voussoirs by buttering the brick we are laying and the brick we are laying into, making sure to keep a 3/8ths joint. When we are laying the voussoirs we constantly check that they are running toward the striking point by pulling the line. We also ensure the arch is running flush from one side to another. We alternate which side we lay until we arrive at the centre. Once everything is in place you can then relax. It sounds like a lot but it’s quite easy to do once you take your time and have someone else to blame once it all goes to s**t.